


The Easy Way to Capture
Student ID Photos is Here.
Get started with three simple steps to seamless student ID photo capture:
STEP 1
Log In to RemotePhoto
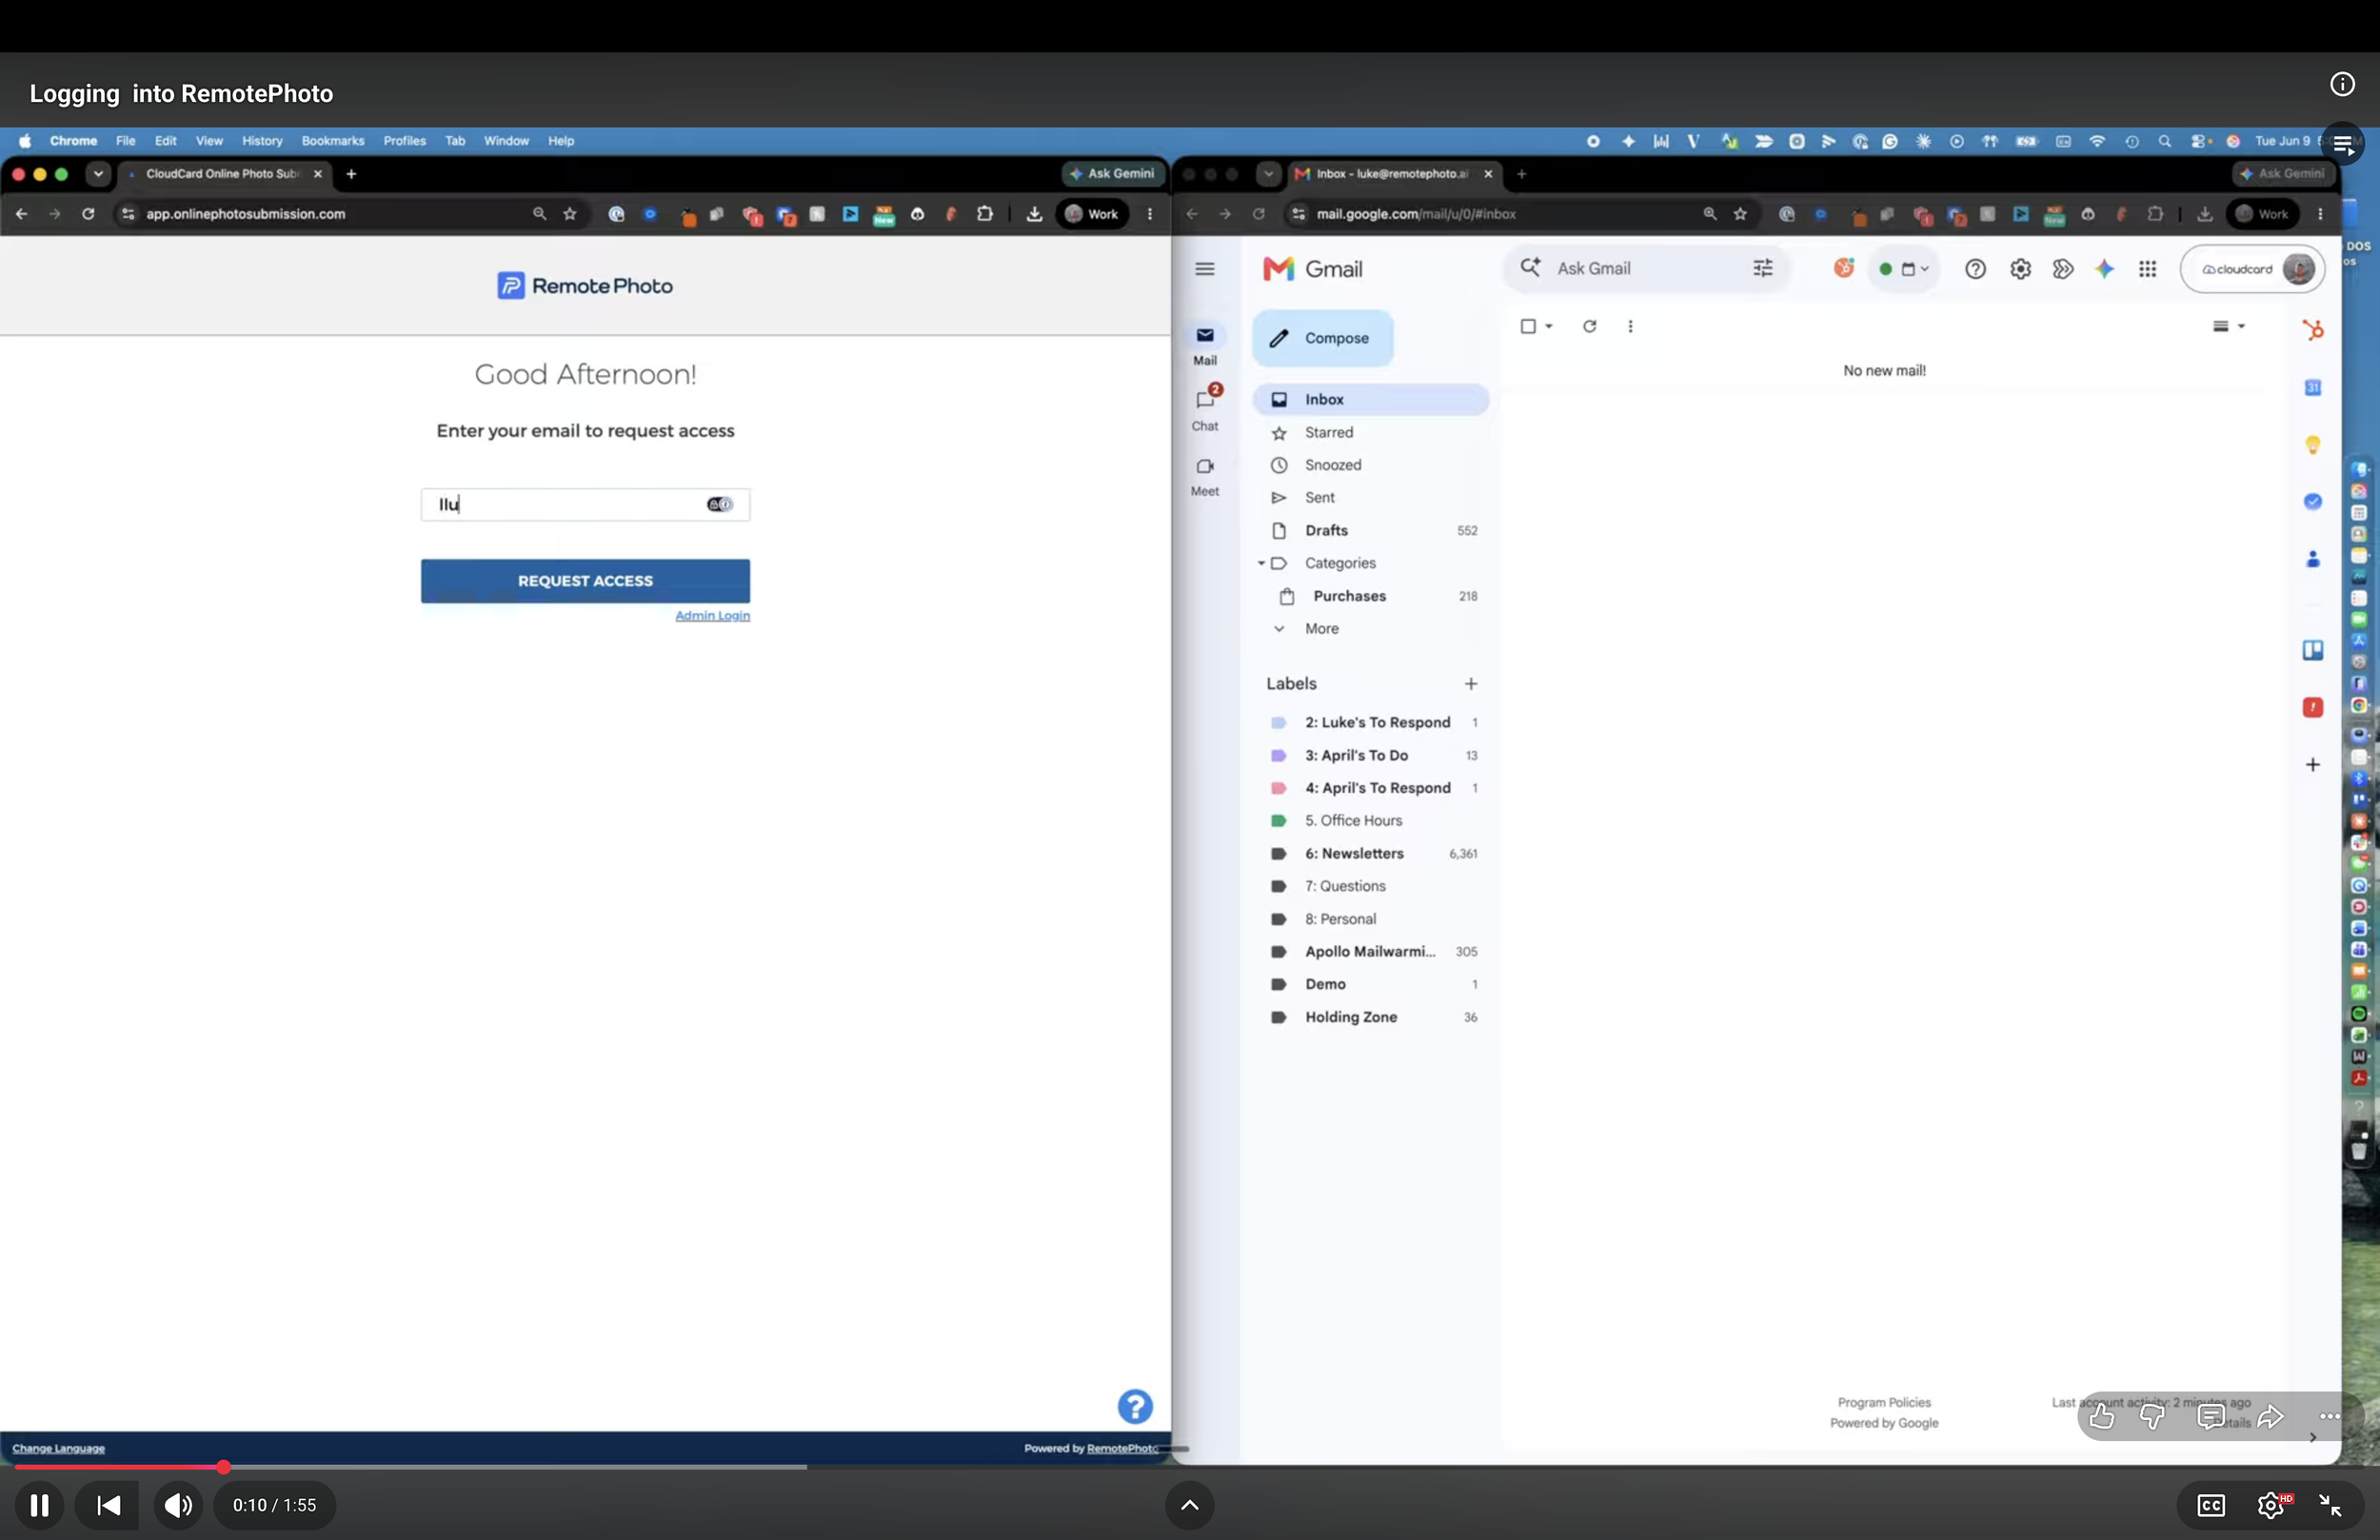
Watch this video to learn how to log in to RemotePhoto!

After watching the tutorial, click the button below to log in to your custom RemotePhoto organization. You will receive a password reset link.
Once you've set up your password, you can access the RemotePhoto dashboard.
STEP 2
RemotePhoto Crash Course
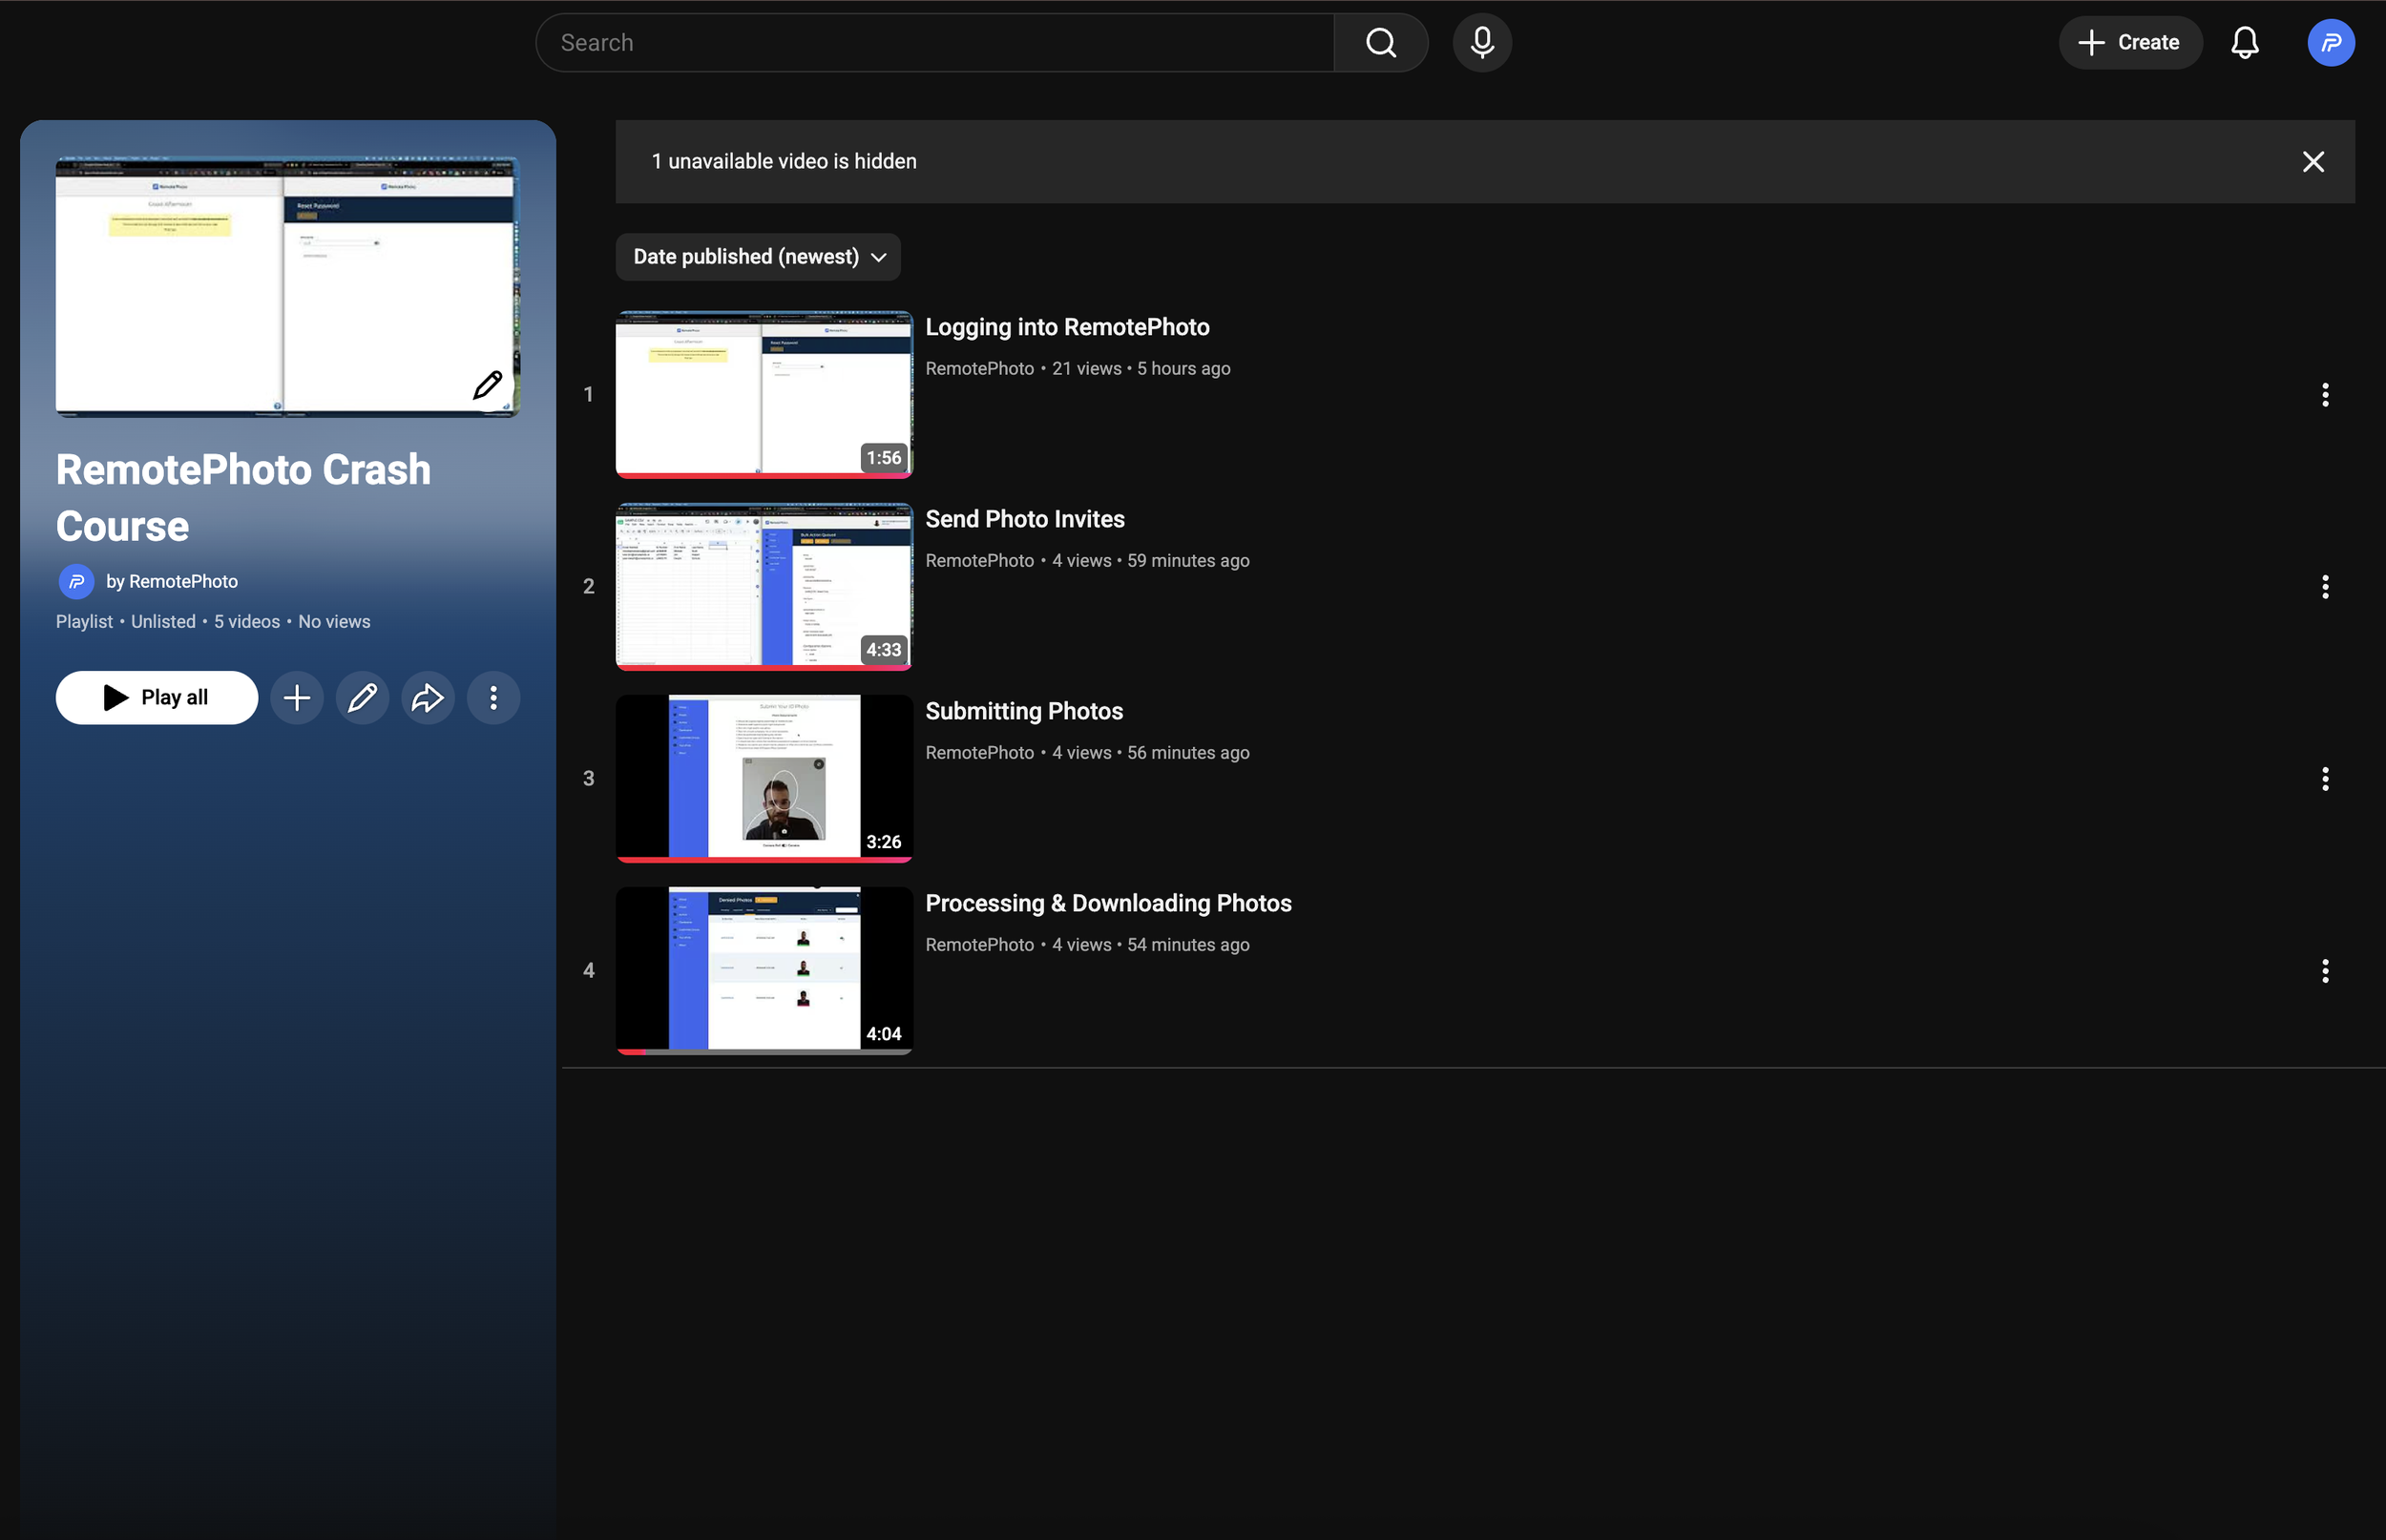
After completing Step One, click the button below to access our "RemotePhoto Crash Course" video playlist. We will walk you through sending photo invites, processing submitted photos, and downloading the approved images to your card production software.
You're almost there!

STEP 3
Start Capturing Student ID Photos
Step One. Check! Step Two. Check!
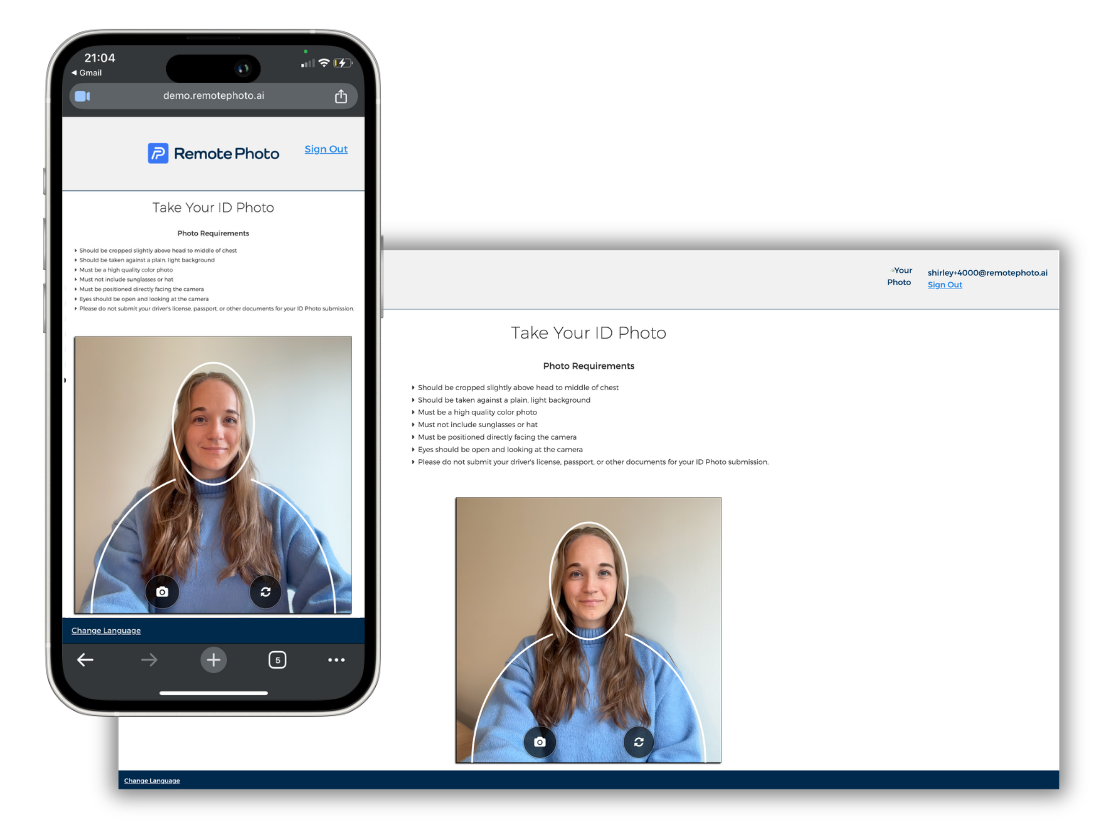
Congratulations, you're ready to start capturing student ID photos with RemotePhoto! Send out your photo invites, sit back, and watch how ID photos just happen. If you have any questions, reach out to Ben.
Proven results for card offices just like yours.
500+
schools serviced
350,000+
manual hours saved
2M+
photos processed
Free Trial vs. Paid Plan
Your free trial will make capturing student ID photos this summer easier. Upgrading to a paid plan means you unlock the magic of a fully customized, automated, and supported workflow.
Once our customers join the A+ plan, they never go back!
| Feature | Free Trial | A+ |
|---|---|---|
| Auto Cropping | ||
| Auto Rotate | ||
| Auto Background Removal | ||
| Auto Photo Denial | ||
| Standard Email Templates | ||
| Manual .zip Photo Download | ||
| Manual CSV Import | ||
| Manual Photo Approvals | ||
| Auto Photo Approvals | ||
| Single Sign-On (SSO) | ||
| Automated Photo Download | ||
| Automated CSV Provisioning | ||
| Custom Emails | ||
| Custom Reporting Dashboards | ||
| Government Issued ID Submission | ||
| Signature Capture | ||
| Multiple Languages | ||
| Access to Customer Support | ||
| Custom Photo Submission URL | ||
| Personalized Implementation and Onboarding |