3 Easy Steps to Seamless Student ID Photo Capture
STEP 1
Log In to RemotePhoto
Click the button below to log in to your custom RemotePhoto organization. You will receive a "Reset Password" link.
Once you've set up your password, you can access the RemotePhoto dashboard.
STEP 2
RemotePhoto Crash Course
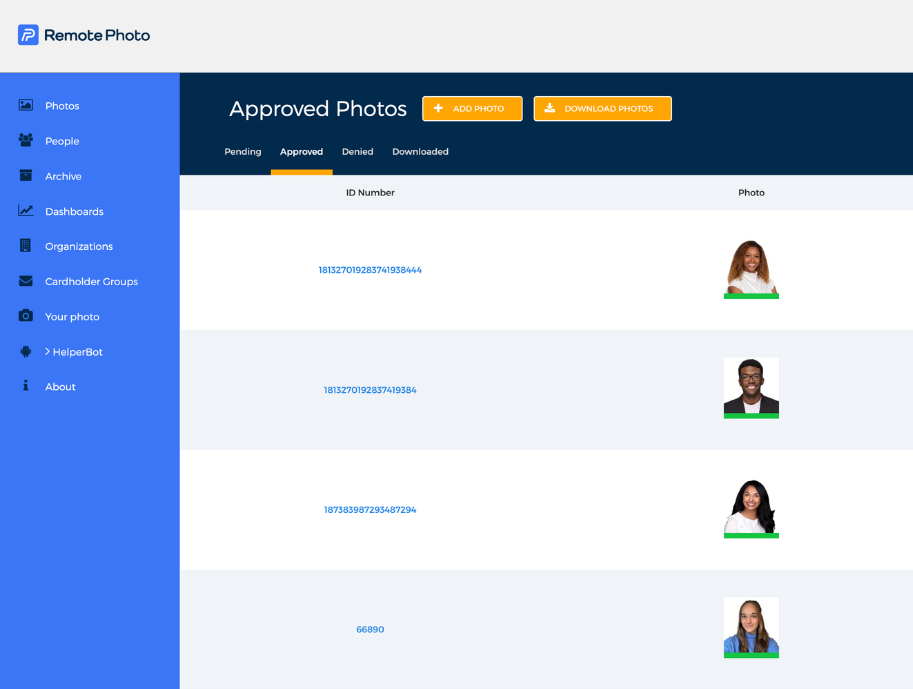
After completing Step One, click the button below to access our "RemotePhoto Crash Course" video playlist. Here, our CEO, Luke, will walk you through how to provision users in RemotePhoto, send out your photo capture invites, and manage your student ID photos once they've been submitted.
You're almost there!

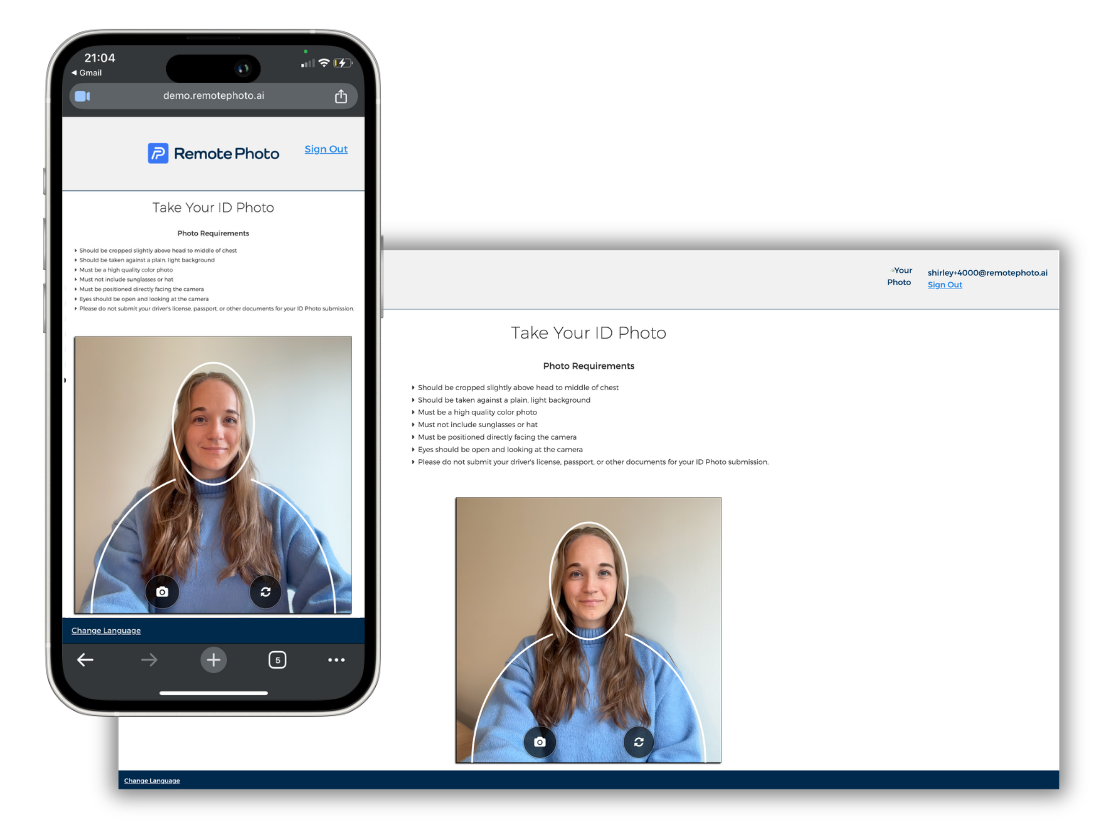
STEP 3
Start Capturing Student ID Photos
Step One. Check! Step Two. Check!
Congratulations, you're ready to start capturing student ID photos with RemotePhoto! Send out your photo invites, sit back, and watch how ID photos just happen. If you have any questions, reach out to Tyler or Ben.